This article contains a step-by-step guide on how to install an ice maker to a refrigerator alongside a solenoid valve that automatically brings water to the ice machine
The materials that you would need include icemaker kits, isolation valves, water supply installation kits, threaded brass fitting, and nipples.
Some of the tools needed include an adjustable wrench, drill, flat-head screwdriver, Philips-head screwdriver, paddle bit.
How to Install Ice Maker Kits – 8 Steps Guideline
Below is a stepwise procedure on how to simply install ice maker kits:
1. Run the water line
- Make a hole behind the refrigerator and another under the sink.
- Toll the waterline down and run it through the refrigerator hole.
2. Drain the Water Line
- Shut off the water to the house at its main source and shut off the electric heater at the breaker.
- Tap into the cold water underneath the sink
- By opening a faucet, drain the lines.
3. Install the Valve
After shutting off the water, install the new valve meant for the icemaker water line.
4. Install the Solenoid Valve
Next step after installing the valve is to mount the first part of the ice maker kit known as the solenoid valve.
- Use a drill and 2 machine screws, to insert the solenoid valve into the holes in the cabinet frame of the fridge.
- Then find the 2-pin solenoid connector under the refrigerator and connect over the valve at terminals far apart.
5. Connect the Water Supply Line
- Using a compression fitting, connect the water line to the upper part of the solenoid valve, and screw it tight.
- Screw the plastic fitting to the water outlet using the provided plastic tubing.
- Also, use the adhesive clips in the kit to run the water line behind the freezer, this is expected to hold the water line in place.
- Finally, use a screwdriver to puncture a hole on the paper cover behind the unit.
6. Fix the Factory Fill Tube
- Using a flathead screwdriver, detach the plugs from the holes
- Repeat the process with the mounting hole plugs and water inlet plug by the side of the freezer
- Install the fill tube at the back of the freezer by fixing the metal insert you were provided with into the bottom of the water supply line.
- Fix the water valve clamp over the fill tube
- Insert the water supply line and tighten using an appropriate drill
- Attach the fill tube to the freezer and tighten it in place
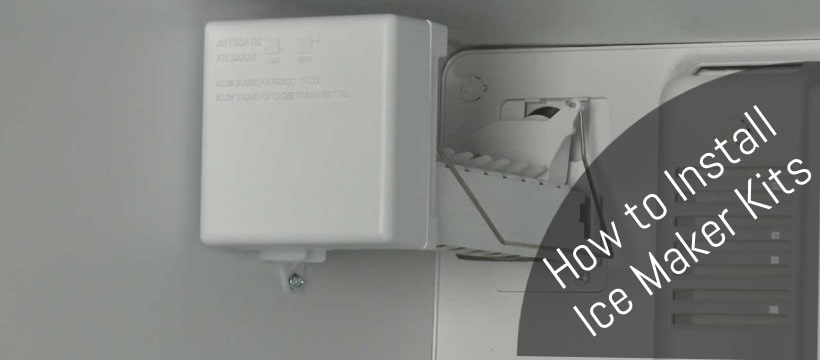
7. Fix the Icemaker
- Plug the ice maker unit at the back of the freezer wall
- Fix the extension tube into small holes at the back of the freezer
- Screw securely into the mounting holes at the back of the freezer
8. Attach the Unit to the Freezer Wall
- Hang the icemaker over the mounted screws to mount to the freezer
- Tighten the screws
- Add the ice bucket under the kit
- Plug the refrigerator into a power source
- Turn the water back on at the main and switch on the electric water heater breaker or gas water heater.